| packs | ||
| web | ||
| .gitignore | ||
| import.py | ||
| LICENSE | ||
| preview-element-android.png | ||
| preview-element-web.png | ||
| README.md | ||
| requirements.txt | ||
| scalar-convert.py | ||
Maunium sticker picker
A fast and simple Matrix sticker picker widget. Tested on Element Web, Android & iOS.
Discussion
Matrix room: #maunium:maunium.net
Importing packs from Telegram
- (Optional) Set up a virtual environment.
- Create with
virtualenv -p python3 . - Activate with
source ./bin/activate
- Create with
- Install dependencies with
pip install -r requirements.txt - Run
python3 import.py <pack urls...>- On the first run, it'll prompt you to log in to Matrix and Telegram.
- The Matrix URL and access token are stored in
config.jsonby default. - The Telethon session data is stored in
sticker-import.sessionby default.
- The Matrix URL and access token are stored in
- By default, the pack data will be written to
web/packs/. - You can pass as many pack URLs as you want.
- You can re-run the command with the same URLs to update packs.
- On the first run, it'll prompt you to log in to Matrix and Telegram.
If you want to list the URLs of all your saved packs, use python3 import.py --list.
This requires logging in with your account instead of a bot token.
Enabling the sticker widget
-
Serve everything under
web/using your webserver of choice. Make sure not to serve the top-level data, asconfig.jsonand the Telethon session file contain sensitive data. -
Using
/devtoolsin Element Web, edit them.widgetsaccount data event to have the following content:{ "stickerpicker": { "content": { "type": "m.stickerpicker", "url": "https://your.sticker.picker.url/index.html", "name": "Stickerpicker", "data": {} }, "sender": "@you:picker.url", "state_key": "stickerpicker", "type": "m.widget", "id": "stickerpicker" } }If you do not yet have a
m.widgetsevent, simply create it with that content. You can also use the client-server API directly instead of using Element Web. -
Open the sticker picker and enjoy the fast sticker picking experience.
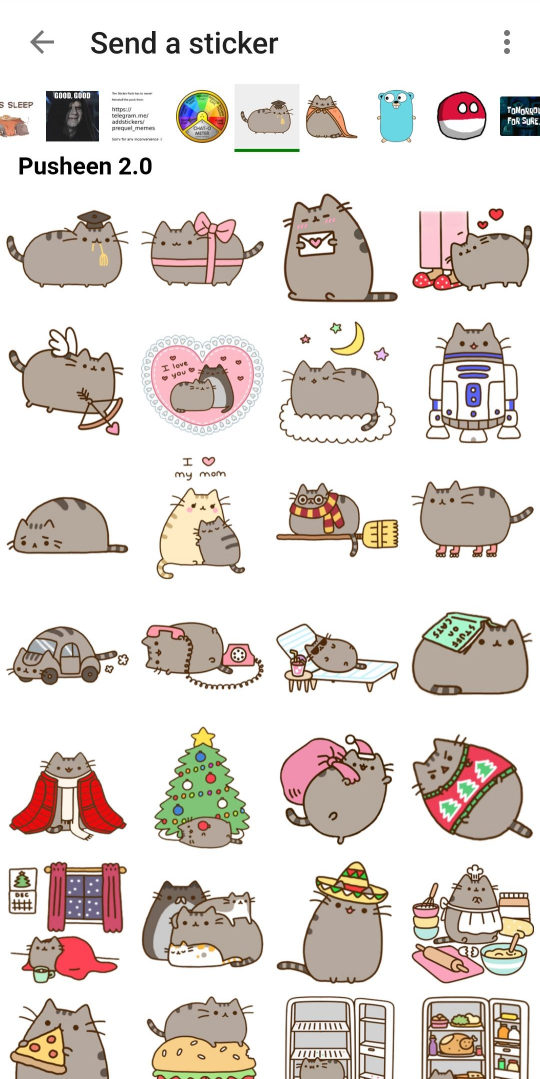
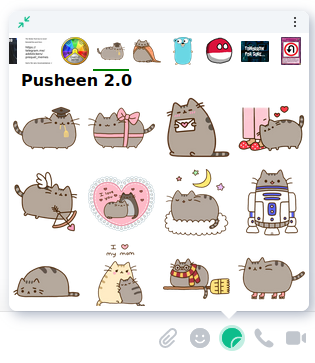
Preview
Element Web
Element Android